◊◊◊◊◊◊◊◊◊◊◊◊◊◊◊
I've become a big fan of appliqués in the past 5 years.
In this tutorial I want to show you what you can accomplish with this simple sewing technique.
Don't be surprised if I go through the steps quickly. In the lower tutorials everything has been described.
Basics / other tutorials can be found here:
appliqué tutorial
braid tutorial
.
.
.
How to work step by step:
STEP 1
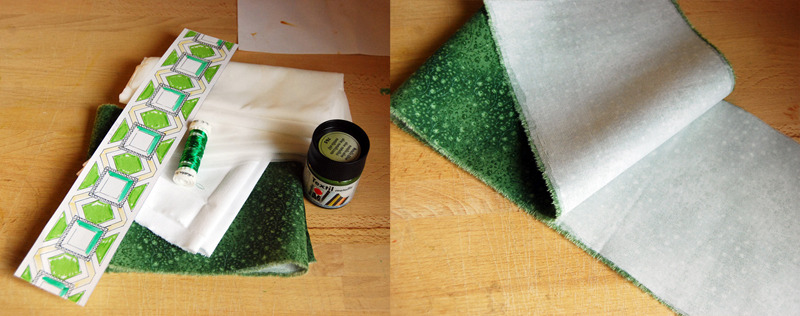
What materials do you need:
- pattern/ reference
- fabric and thread
- Interfacing /Interfacing double-sided and a iron
- sewing mashine/ needle
- fabric paint
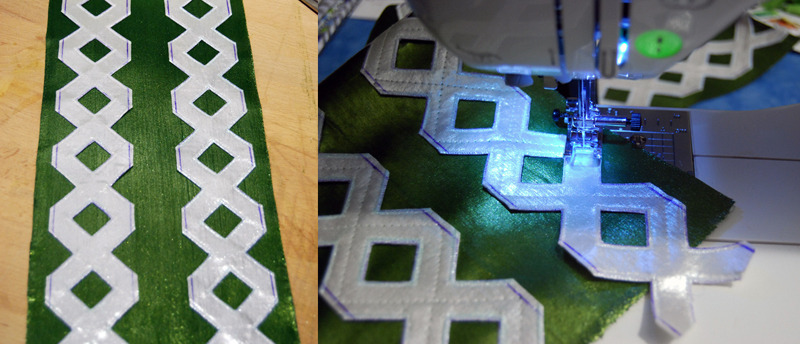
Now as in appliqué tutorial reinforce your fabric with interfacing. It [interfacing] shouldn't come off.
STEP 2
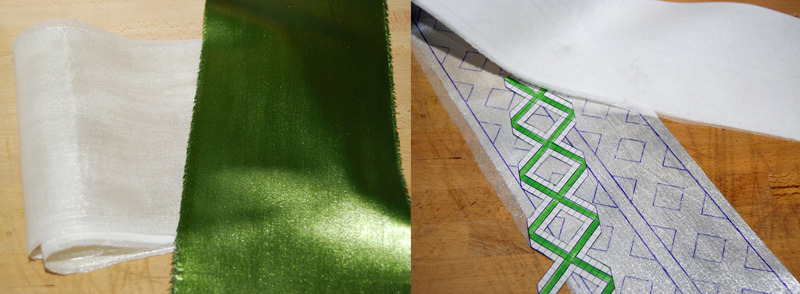
Paint the colour on it next. Here I used metallic-olive and metallic-white. One color per fabric.
Use a copy of your pattern and draw all the lines on the fabric.
(NEVER cut the original!)
Tip: You can also draw the pattern before the white paint.
STEP 3
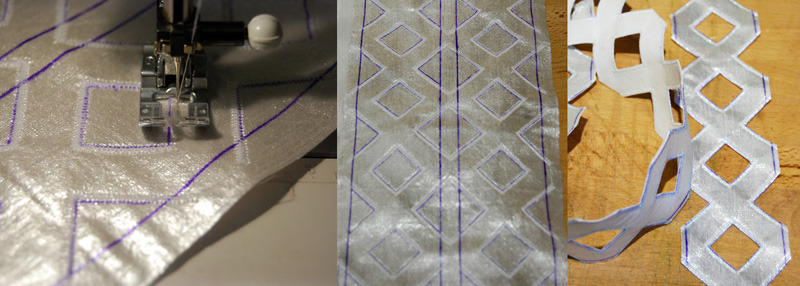
You can start stitching one time the frame for example with zigzag (see appliqué tutorial)
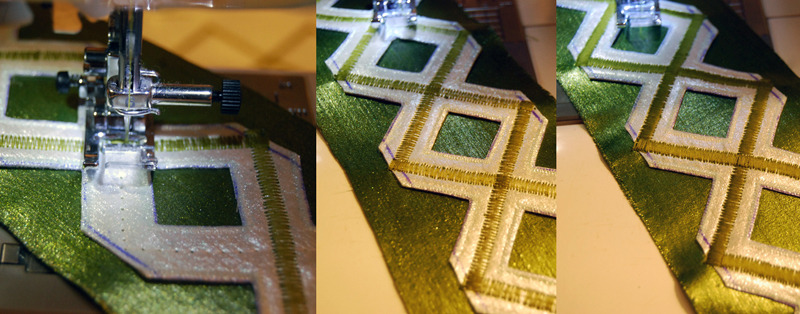
Now our prolonged step: Cut it out carefully. In this case you may not cut the seam, otherwise everything goes on.
And don't forget all the threads. ^.~
STEP 4
Place the white pattern on the green fabric. You can clue it or get pin up.
In double-sided interfacing just put it ironed, then it will not slip.
Sew a second time with the zigzag along the pattern.
For Step 5 I sewed with white thread a line.
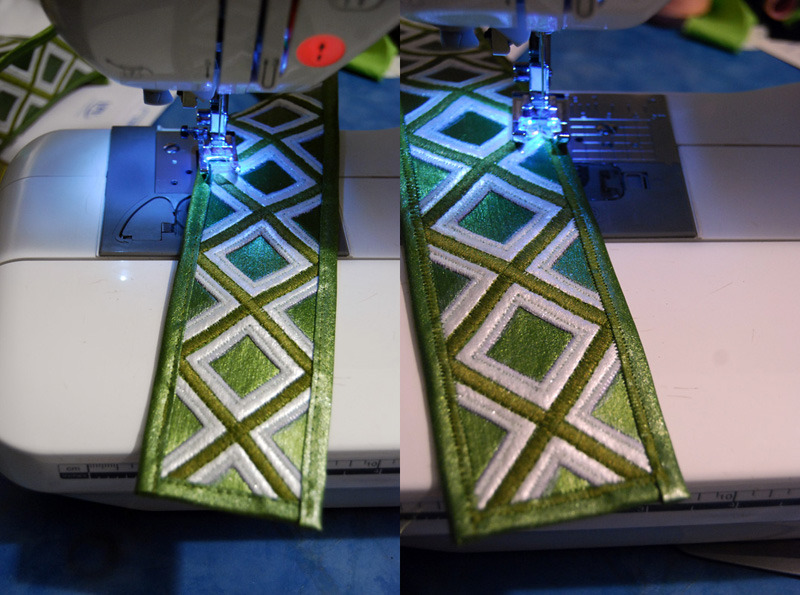
STEP 5
With a decorative green thread I repeat twice the zigzag stitch and sew along the line from step 4.
STEP 6
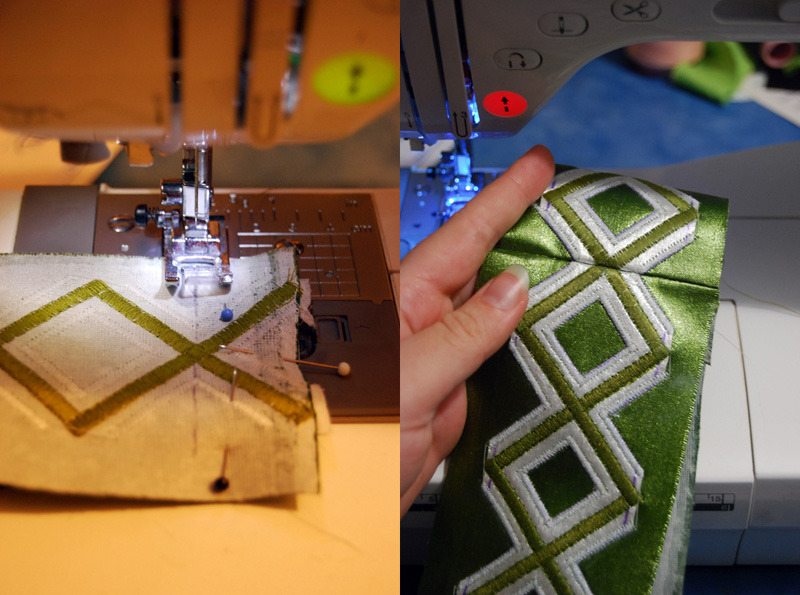
It may happen that you have to sew several pieces of fabric together.
Please note that the pattern is not interrupted (if possible).
STEP 7
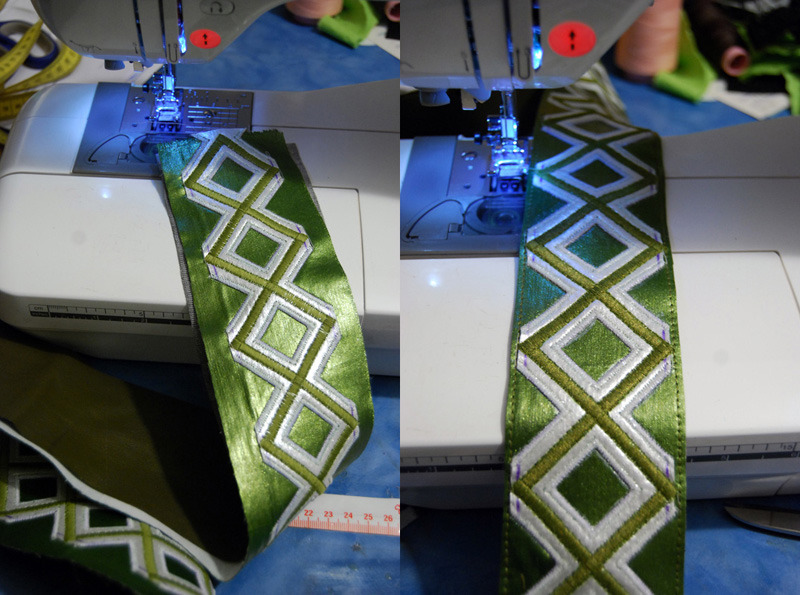
I found old green pleather in my fabric wardrobe. Perfect for my belt.
Cut the pleather in the same size as the color fabric and sew it all together.
STEP 8
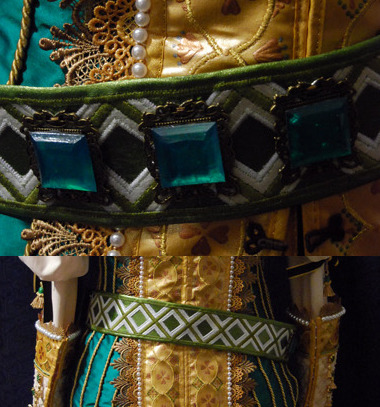
With the bias tape is the belt "closed" and decorated.
As a little extra, I stitched the bias tape with zigzag.
.
.
.
And so it may look like (combined with stones)